

Make Natural Paint from Clay
Making your own natural and non-toxic clay paint, or alis, is simple, fun, and inexpensive. You can apply alis to adobe, cement, brick, or unvarnished wood instead of toxic or latex paint. If you have a very large area to cover, clay alis readily dilutes with limewash to make a soft-hued paint for literally pennies per gallon. You can also make smaller batches of intense colors to use on canvas or heavy poster board as an art project--great for kids!
These days you can find clay in almost every color imaginable from specialty suppliers online: Apricot Blush, Pink Champagne, Aztec Blue--it's just like going through paint strips at the hardware store. But to me, half the fun of painting with clay is finding the beautiful hues native to the land around me. Shades of rose, salmon, oche, and cream abound here. I've seen other natural builders use rich gold and russet indigenous to their locale.
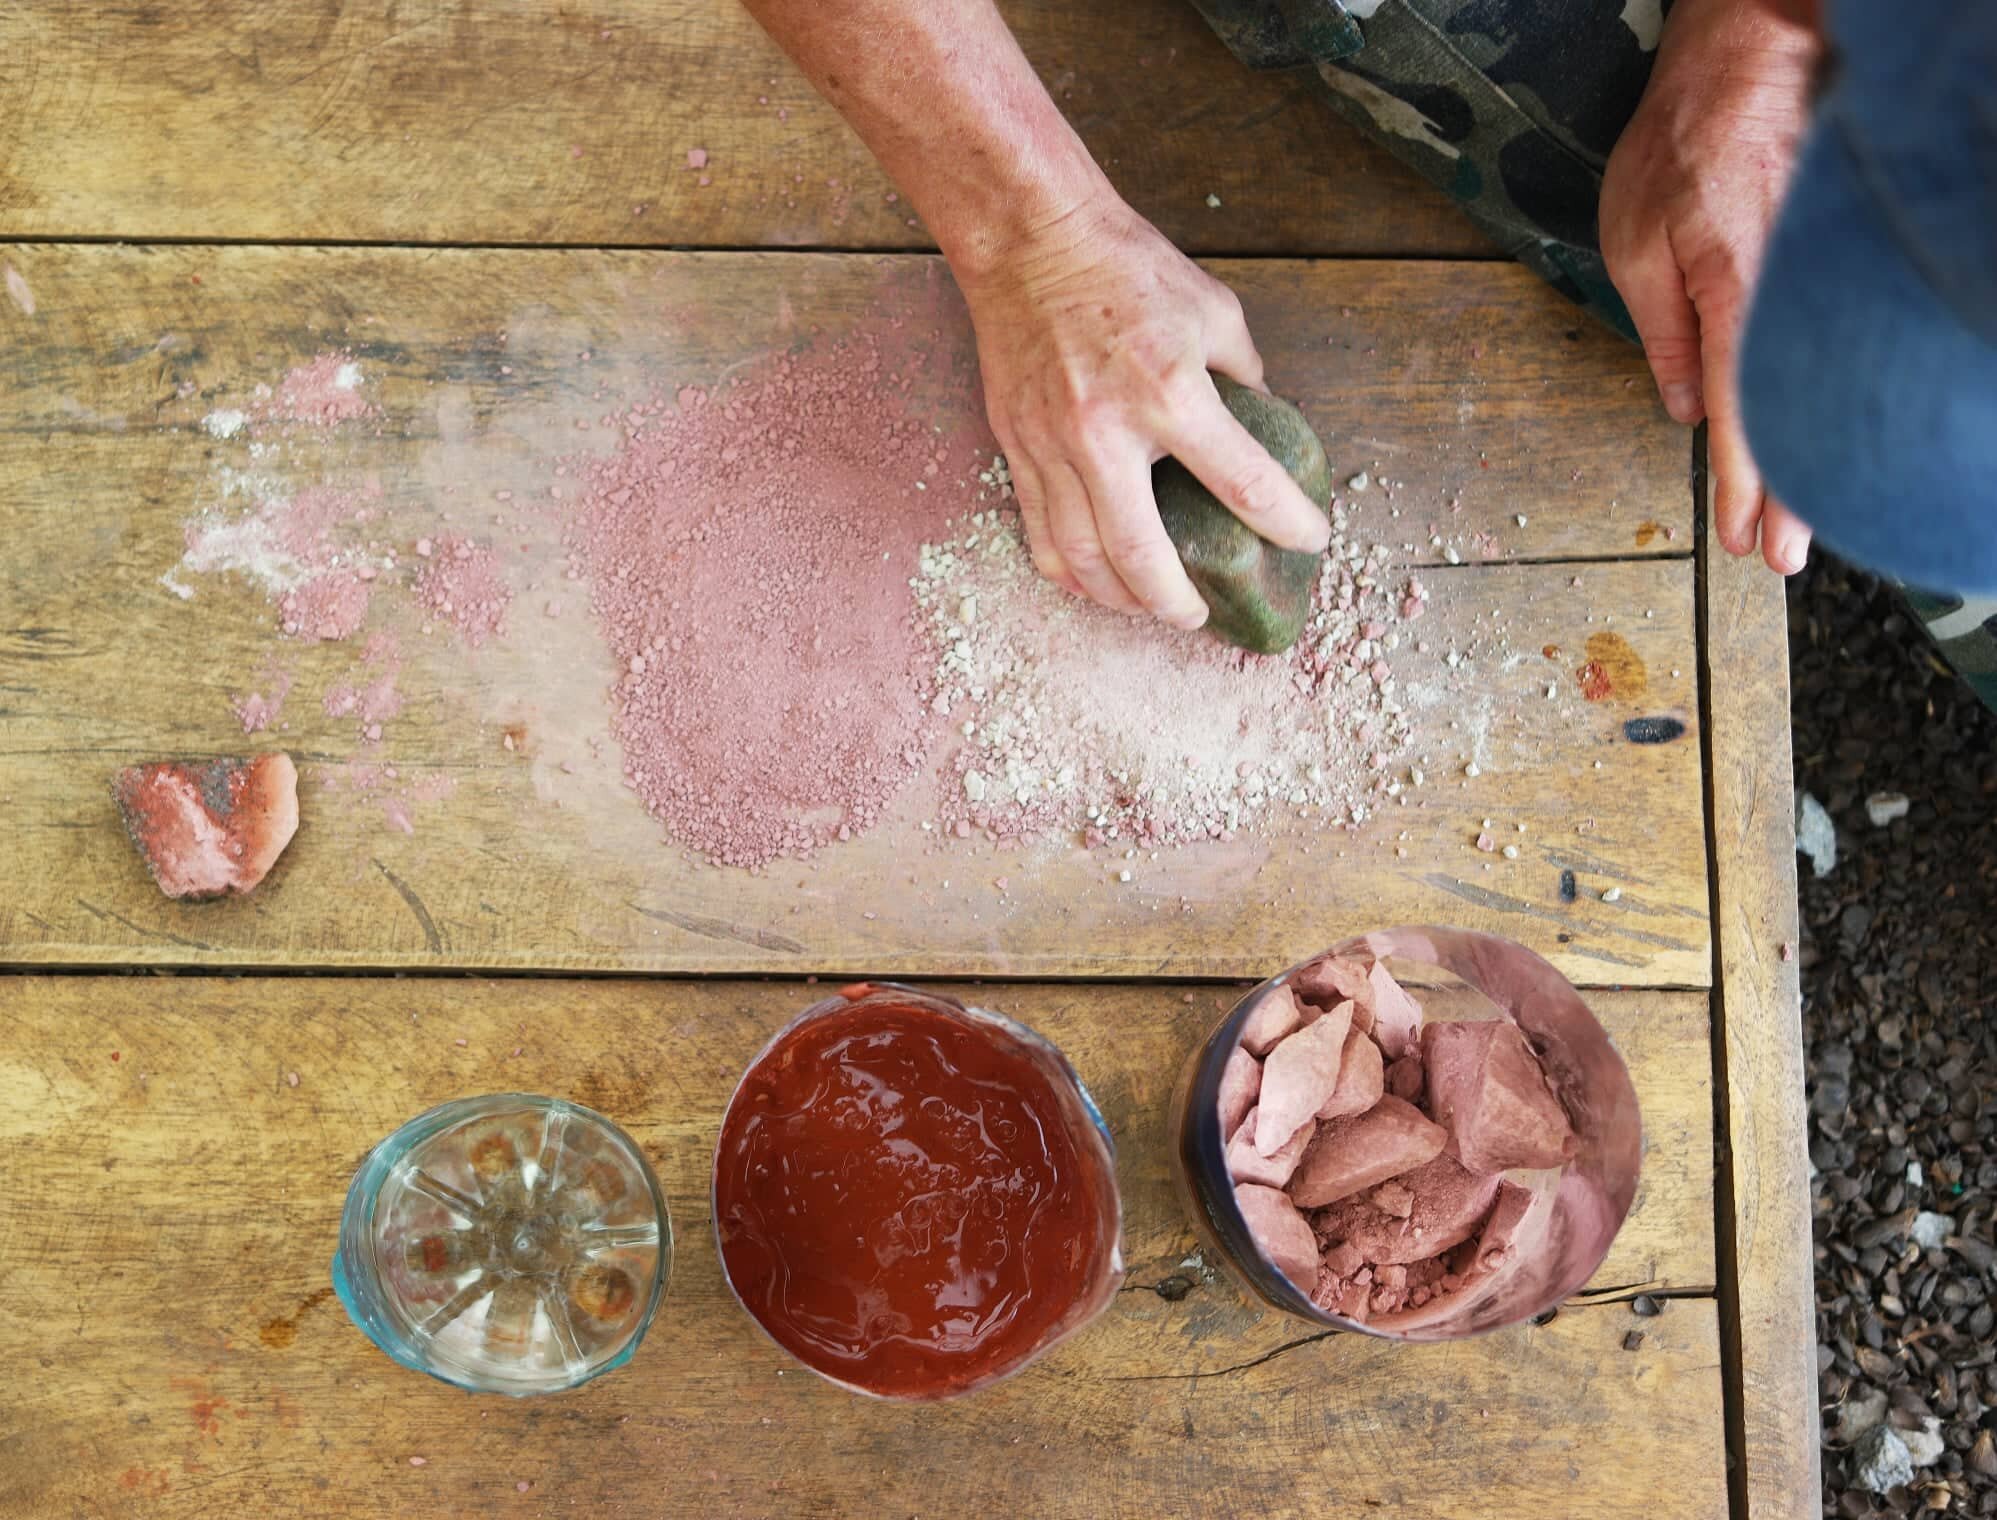
Pulverizing found clay with a river stone at Sueño de Vida.
See what you can dig up…
So instead of starting your painting project at the computer screen with your credit card, start outdoors with a bucket instead. Good places to search for richly colored clay include:
The ground under your feet! With a sharp shovel, dig past the loose topsoil to the packed clay subsoil below. Clay subsoil can vary in color from rusty orange to terra cotta to yellow ochre.
A stream or river bed. Clay found near or under moving water is usually rich in kaolin or bentonite, giving it a creamy pale yellow or eggshell color. It also makes a great facial mask, so save some for a home spa day!
If you live in a very dry or desert area, you will have a harder time finding clay in your natural surroundings. In this case, the internet might be your only option. But take heart, many of the folks supplying clay to artists and natural builders are independent businesses, and your purchase will help them stay afloat.
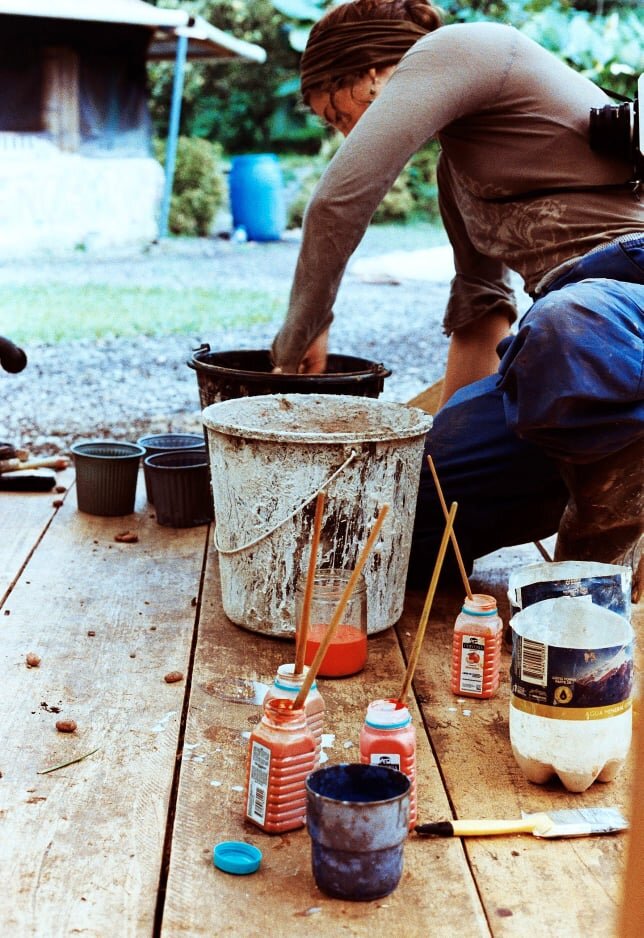
I like to vary the formula for different applications. I'll use a more diluted pastel version to cover a large area like a wall, and a concentrated mix for accents or a mural.
Also, if you live in a very rainy and humid climate like me, I recommend substituting diluted carpenter's glue for wheat paste which tends to mold in damp weather. Another option I have read about but not made myself is casein, which is made with whey from milk. The natural building purists can gripe at me about using a smidge of glue if they want. We've built six structures in the middle of a jungle with mostly bamboo, dirt, and rocks while planting thousands of trees on deforested land. I pick my battles.
Ok, let’s get started!
To make Clay Paint. For small areas, accents, or mural
You will need:
a hammer, mallet, or rock that fits in the palm of your hand
some small containers for seperating shades of clay (plastic bottles cut in half work well, or anything repurposed)
water
white flour or white carpenter’s glue
a paddle or stick to stir with
clay
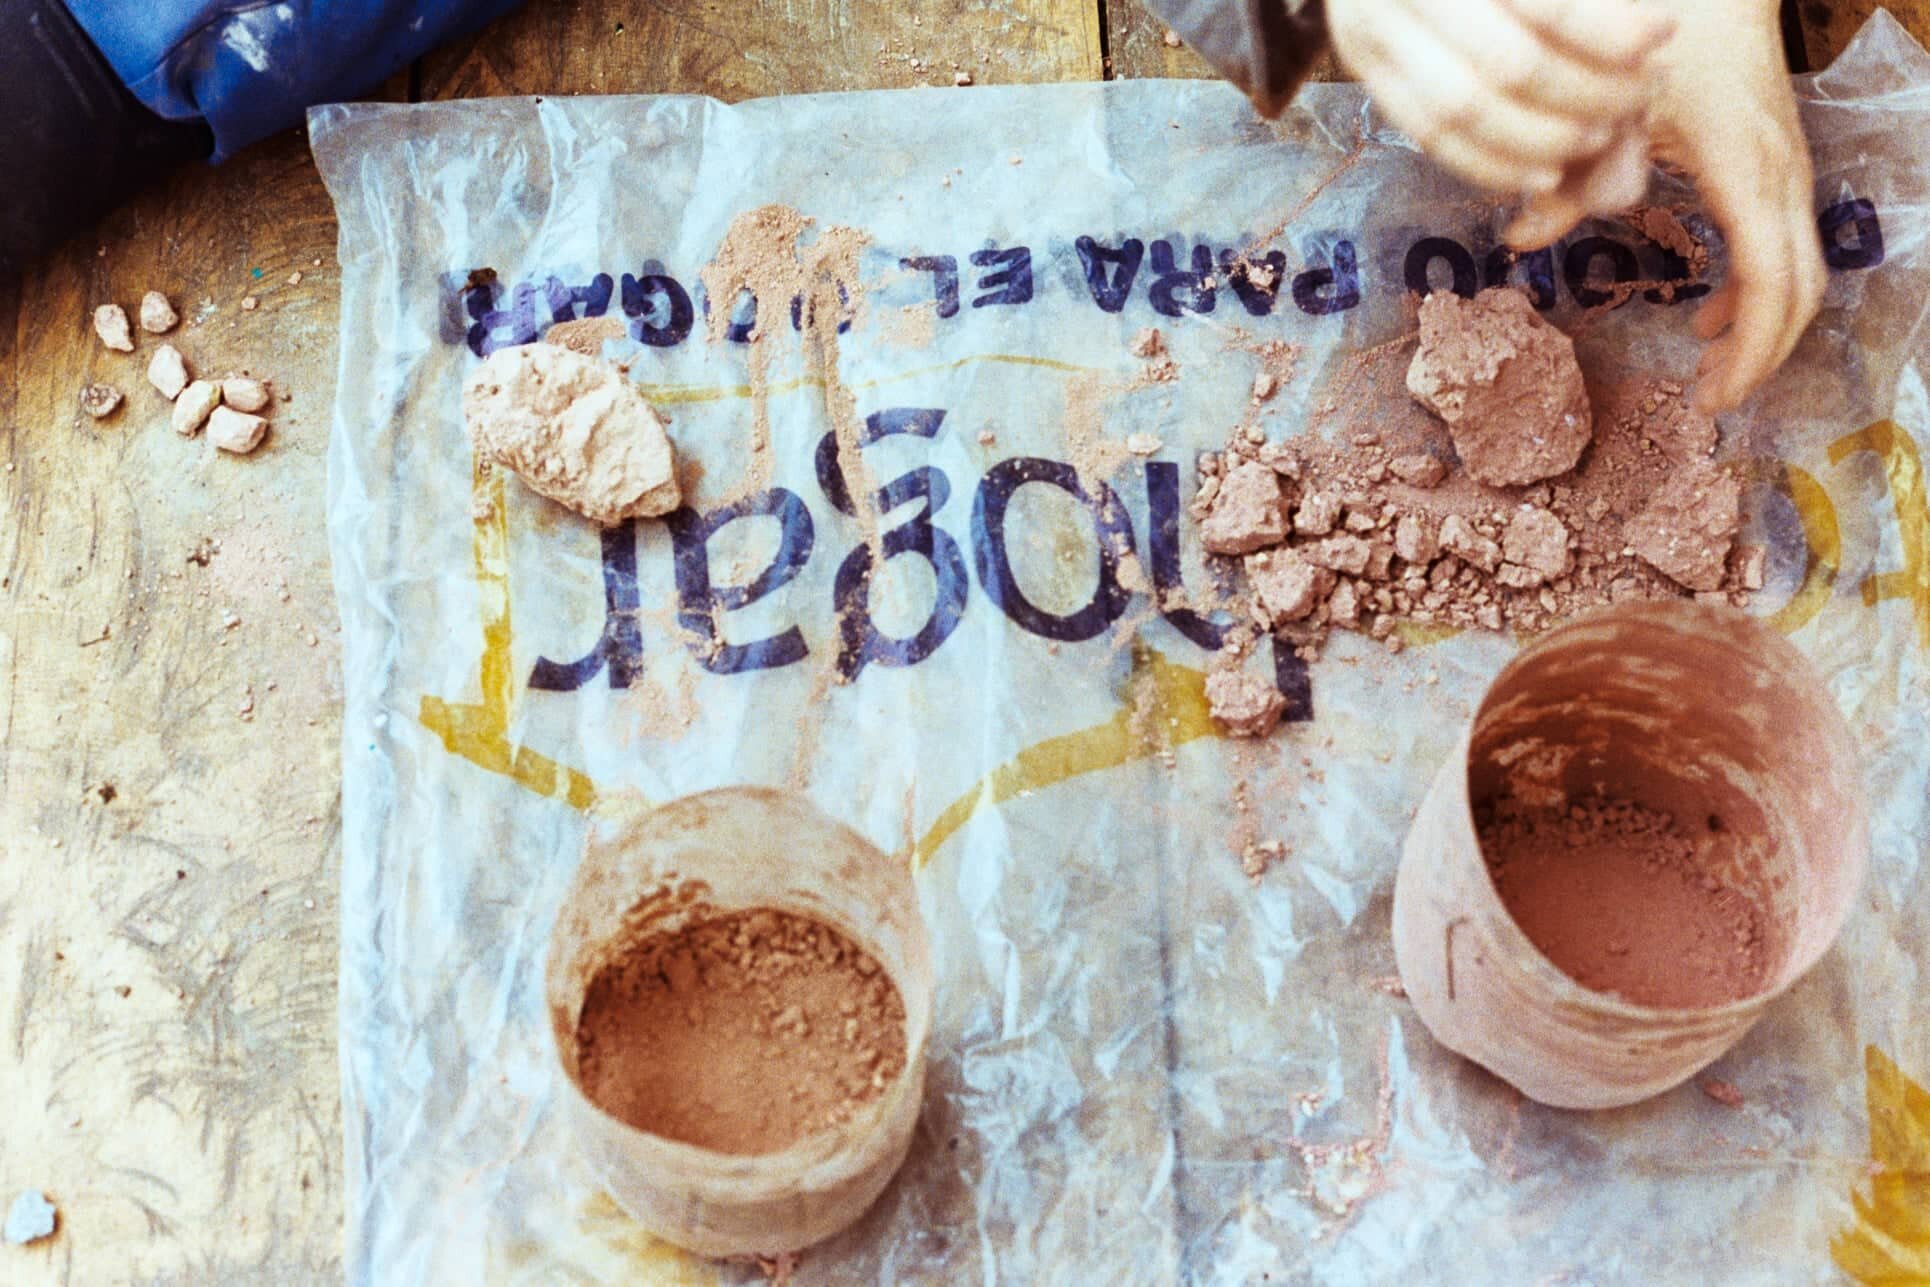
Clay bought from a supplier will come bagged in powder form, ready to be mixed with the base. Clay you find yourself might be in chunks or pieces. It almost certainly won't be a nice uniform powder. To make it usable, you have two options:
If the clay is hard and dry, pound it with a river rock or hammer until it is a fine powder.
If the clay is moist and soft, put it in a bucket wit just enough warm water to cover. Let it soak and then mix until it makes a thick slurry.
Now in order to make the clay stick to a surface, you need to make a sticky base with either wheat paste or glue.
How to make wheat paste:
To cook wheat paste, use four parts water and one part flour
Boil the water.
In a separate bowl, whisk the flour with enough cold water to create a lump-free goo, then pour this mix into the boiling water.
Turn the burner down low, and stir continuously for 20 minutes.
How to make a glue base (better for damp and rainy climates):
Use four parts water and one part glue.
Put the amount of glue you need in a bucket large enough to hold the glue, water, and clay
Heat the water to very hot. It doesn’t have to boil.
Pour the hot water over the glue and stir to dilute it evenly.
To make and apply the paint:
Once the sticky base cools to room temp, mix in the clay powder OR slurry until you get the color you like. The more clay you add, the more concentrated the color.
To give the paint more body or a grained texture, you can also add up to a quart of very fine sand and/or sawdust.
Stir very very well. Your final mix will be thick and creamy.
Application Tip: Keep a stick or paddle in the bucket and stir your paint often. The heavier particles will sink to the bottom periodically, so just give it a good stir.
If you have only a small area to cover and like the vibrant color of the simple alis, you can stop reading here. But to cover large areas for just a few dollars more, read on.
For a large area like a wall, you can increase the volume of the above recipe by mixing it with one or more parts of lime wash (aka milk of lime).
Limewash will mute the color of the clay to a pleasant pastel tone of the hue. Limewash also has a multitude of other benefits including anti-fungal properties, breathability, and mildly insect repellent without being toxic.
For a lovely soft-hued, non-toxic and dirt cheap paint to cover large surfaces, you can't beat the combination of limewash tinted with natural clay.
So what is limewash?
Limewash is a mixture of one part builders lime (available at hardware stores to four parts water. Although it certainly looks white in the bucket when you mix it, it appears transparent when you paint it onto a surface until it cures and turns a milky translucent off white. You can build it up with successive coats. I find that 3-4 coats applied with a cure time of 2-4 days between coats gives me a nice bright finish without becoming dull or chalky.
Lime itself is pulverized limestone that, depending on the type, has been further treated by slaking (soaking). Lime has binding properties similar to cement. The makers of the Roman aquaducts, Morrocan baths, and the Taj Mahal all utilized lime in their enduring constructions.
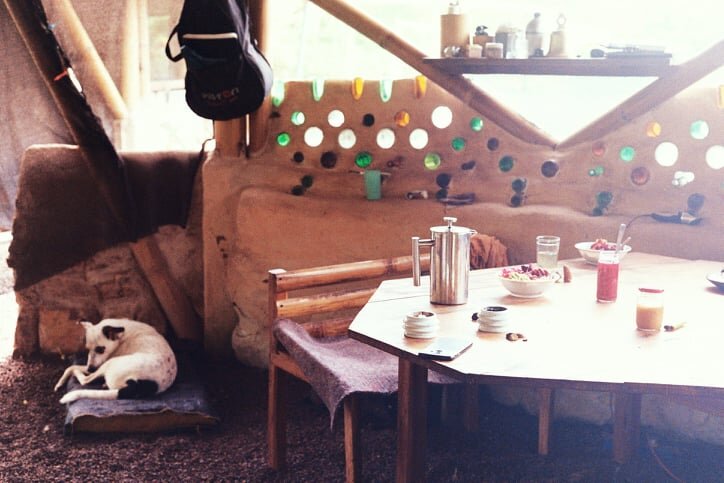
Sunlight plays over our tinted limewashed walls in our kitchen.
The big advantages of lime over cement are:
breathability, can transpire water
highly alkaline, resists mold and fungi
insects don’t seem to like it
sequesters carbon! (part of the carbon released when limestone is processed is pulled back down from the atmosphere when the lime cures into a surface)
Limewash was also known as whitewash in the days before latex paints. It was common for people in towns and villages around the world to devote a few days every springtime to freshening up their homes and public spaces with a fresh coat of limewash.
For more advantages of lime over concrete, and lots more info of how to use lime, check out fellow off-gridder Atulya K. Bingham’s articles and website.
To Make Clay Tinted Limewash. For walls and large areas
You will need:
A large pail or tank with a lid, non-metal (25 gallons is good)
Water
A long paddle or stick to stir
Rubber gloves and something to shield your eyes. WARNING: Working with lime is not dangerous, but it is highly alkaline and will cause lime burn on unprotected skin. I've had lime burn; it's not a huge deal but take precautions.
Builder’s lime
Note: Depending on the type of lime, it might need to be soaked for a few days first. There's quicklime, hydraulic, Type S, yadda yadda. But I wouldn't worry too much about the type unless you're planning to build with it. For making paint, the only thing you need to make certain is that you buy builder's lime, not agricultural lime (which is good for your garden, but not your walls).
No matter the exact type of builder's lime, the best way to store it is submerged in a pail of water with a lid. So as soon you get your bag of lime home, transfer it carefully into a big pail of water, taking care not to let the dust get in your eyes.
To make and apply the paint:
Step 1. Once you have your lime slaked in a big pail, scoop out a shovelful into another bucket. Then add about four times as much water and stir. You'll get a nice milky solution.
Step 2. Then add some of your clay paint to the lime wash, little by little, until you get the color you like. Keep in mind it will dry a bit lighter on the wall than what's in the bucket.
Application Tip: Use a big brush and wide sweeping brush strokes. Or you can use a big sponge.
Remember, limewash is barely visible as it goes on, especially the first coat. So just try to put it on the wall evenly. When it dries, you will be able to see the color. Giving the lime at least a day or two in between coats is the best way to go. Three coats is usually enough and then you can touch it up once a year or so.
Do you want to learn how to build with natural materials with techniques like earthbag, cob, mud plaster and more? Eat tasty farm fresh food and stay in a stunning cloud forest?
Our next week long workshop and immersion event at the SdV farm in Ecuador is in February 2023.
At Sueño de Vida we work in a meaningful way to heal land ravaged by deforestation. How meaningful? According to a recent UN Foresight Brief on climate change,
--It is of the utmost importance to stop deforestation and to increase reforestation efforts around the world. Agricultural practices should focus on soil building, year-round soil cover with plants and the use of agroforestry methods.
That is exactly what we do here at SdV. You can help by helping us do what we do every day: plant forests that nurture soil, people, and community.
Click HERE to donate directly to our reforestation fund OR make a monthly pledge on our Patreon.
Thank you.

Kristen Krash is the director and co-founder of Sueño de Vida, a regenerative agroforestry farm, education center, nature reserve in Ecuador’s Chocó Andino Cloudforest. Prior to moving, Kristen was known for her guerrilla gardens — productive green spaces she created in any available space. Now an urban transplant in the South American rain forest, she has adapted her urban gardening and sustainability skills to large-scale reforestation of degraded land. She takes a practical and accessible approach to helping others achieve more balance and self-sufficiency in their lives.
Kristen’s articles and interviews have been featured on popular sustainability platforms like Abundant Edge and The Mud Home, and in the Rainforest Regeneration Curriculum at the Ecological Restoration Camps.